


Exhaust Installation Tips & Common Mistakes to Avoid
Installing a Sawicki 2-into-1 exhaust system on your Harley-Davidson or Indian Motorcycle is something that almost anyone can do with the right tools and a little bit of patience. While it’s a straightforward process, there are a few details that can make the difference between a smooth install and a frustrating one. After installing hundreds – if not thousands – of systems, Sawicki Speed techs have gathered some tried-and-true wisdom. Here are our best tips for success and the most common mistakes to avoid.

Pro Exhaust Installation Tips
1. Have your tools ready
Your Sawicki exhaust comes with installation instructions and a complete tool list. Gather everything before you start – nothing kills momentum like hunting for a missing socket mid-install.

2. Keep a few bonus tools handy
These are not required, but can make your life a lot easier:
- A rubber or plastic mallet – for gently tapping primaries and the merge/muffler together.
- A swivel socket – makes removing and replacing stud nuts much easier.
- Anti-seize – a little dab on the O2 sensors will make future removal painless and prevent damage.
- Extra set of hands – not mandatory, but for first timers can be helpful when getting everything aligned and seated.
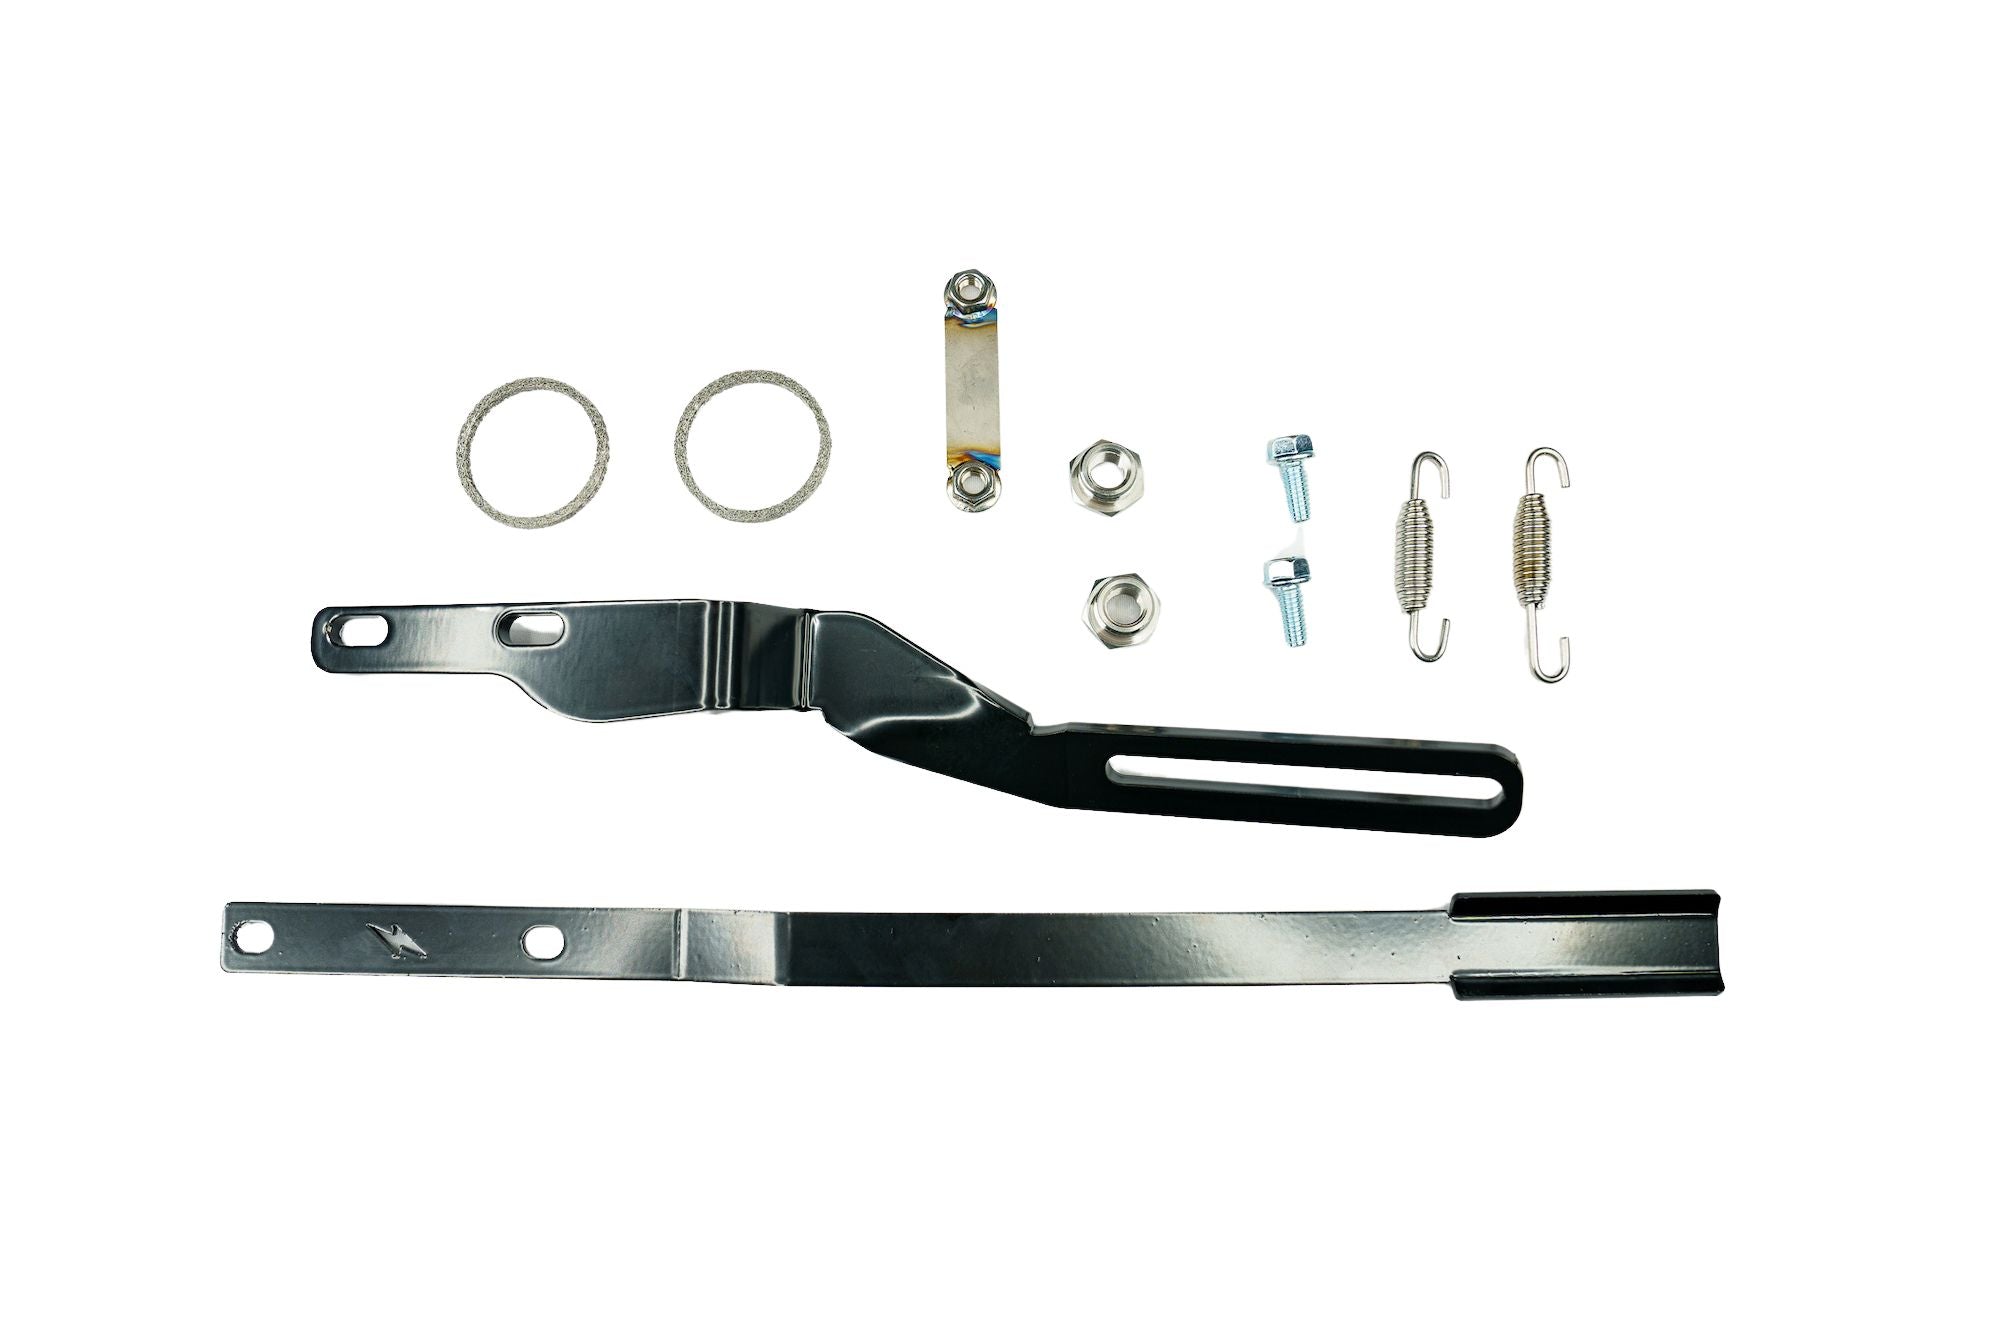
3. Reuse your factory hardware
Hang onto your OEM exhaust flanges, snap rings, and head stud nuts. These are reused with your Sawicki system and aren’t included in our hardware kits.

4. Check snap ring seating
Make sure the snap rings are properly seated on the Sawicki primaries. If they’re not, you’ll fight misalignment later in the process.
5. Completely disconnect your O2 sensors
This makes it easier to connect them to the Sawicki muffler without twisting or stressing the wires.

6. Follow the correct order of operations
Install the components in this sequence: front primary → rear primary → merge collector/muffler. This ensures proper fitment and alignment.

7. Re-check stud nut torque after the first heat cycle
Once your new exhaust has been fired up and gone through its first heat cycle, the gaskets may compress slightly. Let the bike and exhaust cool completely, then check your stud nuts one last time for snugness.
Common Mistakes to Avoid When Installing Your Exhaust
1. Don’t tighten too early
If you lock down one section before everything’s in place, you’ll likely end up with misalignment and won’t be able to get primaries and merge/muffler seated. Keep all fasteners slightly loose until everything is in place, then tighten gradually.
2. Don’t pull springs forward
If the bike is on its kickstand, then pulling the springs toward the front can shift weight enough to pull the bike off its kickstand – bad news. Always hook the springs on the front primary first, then pull backward to attach to the merge collector.

3. Don’t overtighten
Follow the torque specs in your installation instructions. Overtightening can strip nuts or bolts, leading to unnecessary replacement headaches.

4. Don’t skip the final clean.
Before that first startup, wipe down your entire exhaust using acetone or brake cleaner with a 100% cotton cloth. Avoid oil-based cleaners and DO NOT use microfiber – oils can burn into the finish and any left behind microfibers will melt to the pipe when hot.

Final Thoughts
A Sawicki exhaust install is perfectly doable when you have the right tools, take your time, follow your installation instructions and adhere to these best practices. With a little prep and patience, you’ll have your new system fitted, fired up, and looking and sounding good in no time. This is a small garage project that pays off big every time you twist the throttle.