Available on backorder – see lead times for details
If the exhaust you want shows "Available on backorder", please consult the current estimated lead times here:
Brushed stainless exhausts ship in 4-6 weeks
Mirror polished exhausts ship in 4-6 weeks
Black ceramic coated exhausts ship in 8-12 weeks
While we are working hard to keep lead times to a minimum, please keep in mind that polished and coated pipes are custom orders which require additional production time.
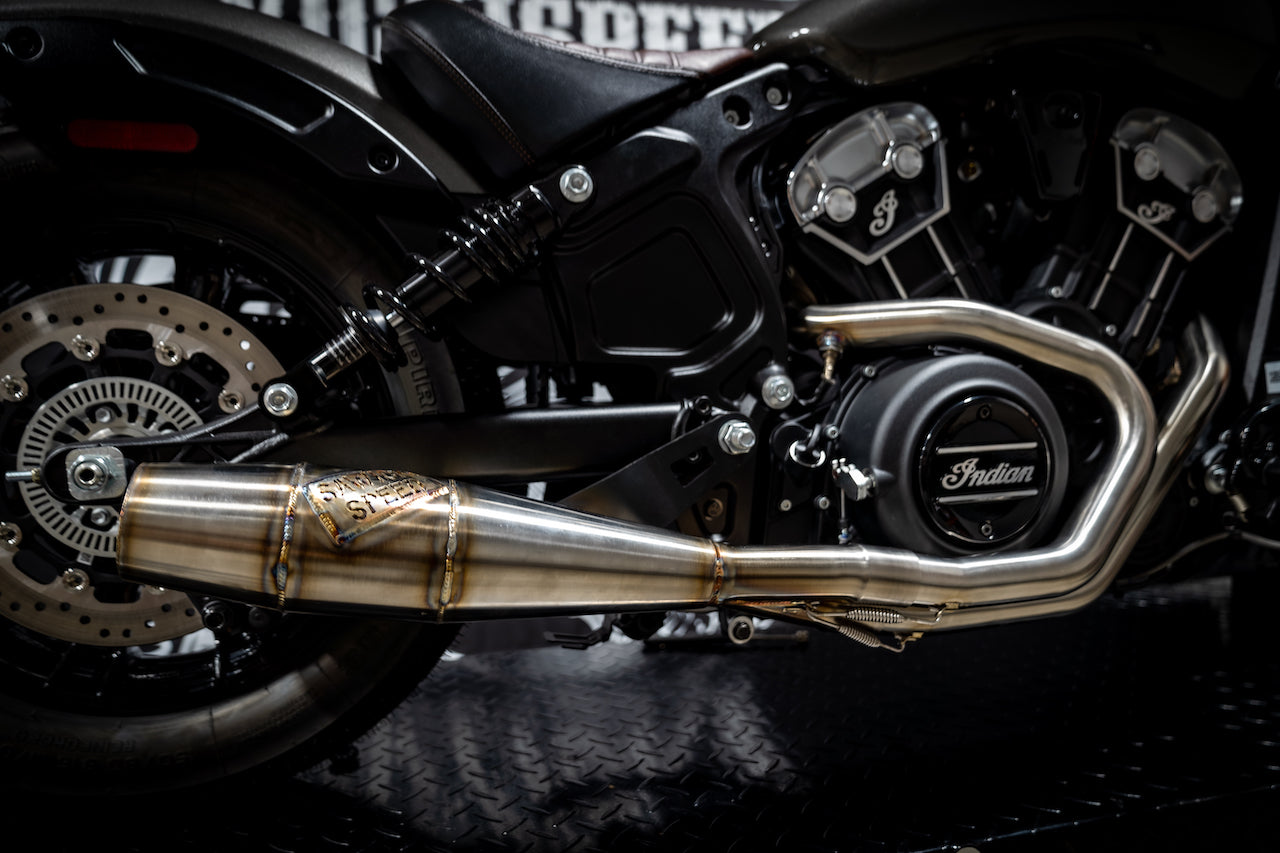
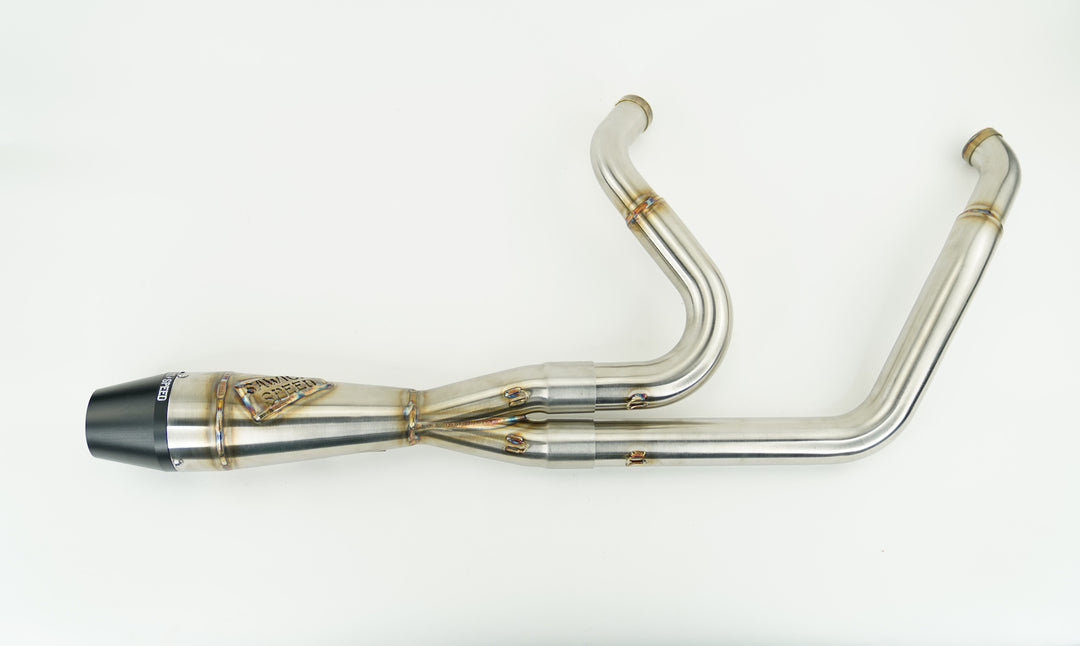
Designed with performance and additional ground clearance in mind while offering a custom look and a powerful sound. All pipes are made with mandrel bent, aircraft quality 304 Stainless Steel featuring a hand-formed merge collector that allows for precise flow performance.
Available in Brushed, Ceramic Coated Black, and Mirror Polished
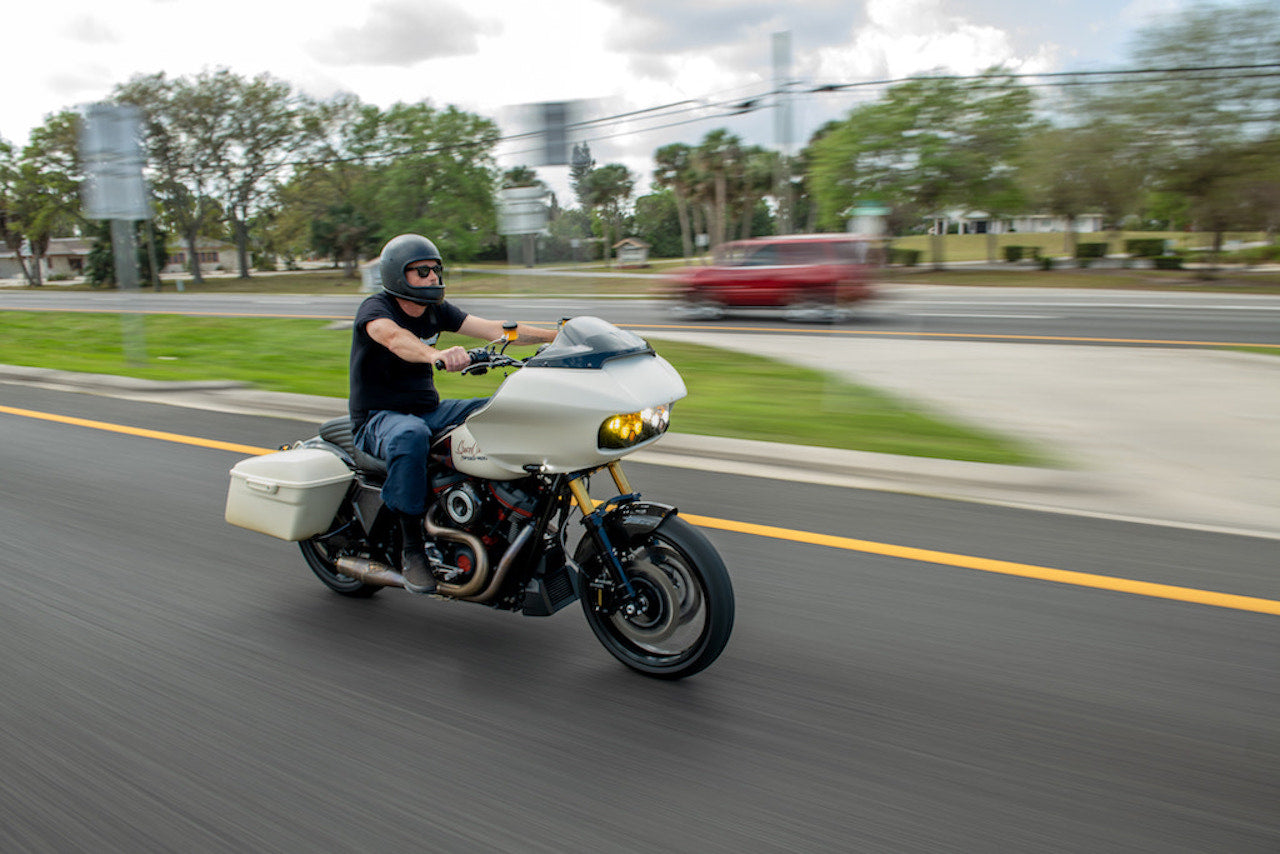
12 HP and 8 TQ increase over stock
27lbs weight savings over stock: Stock 40lb/ Sawicki 13lb
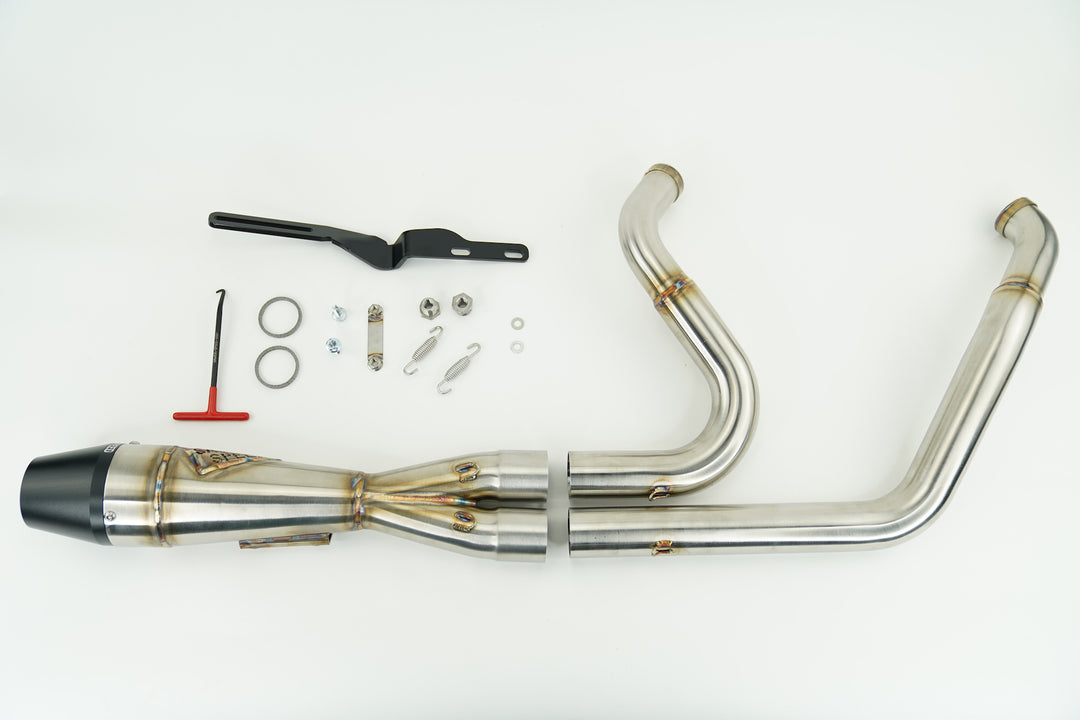
1 ¾" primaries stepped to a 2" outlet
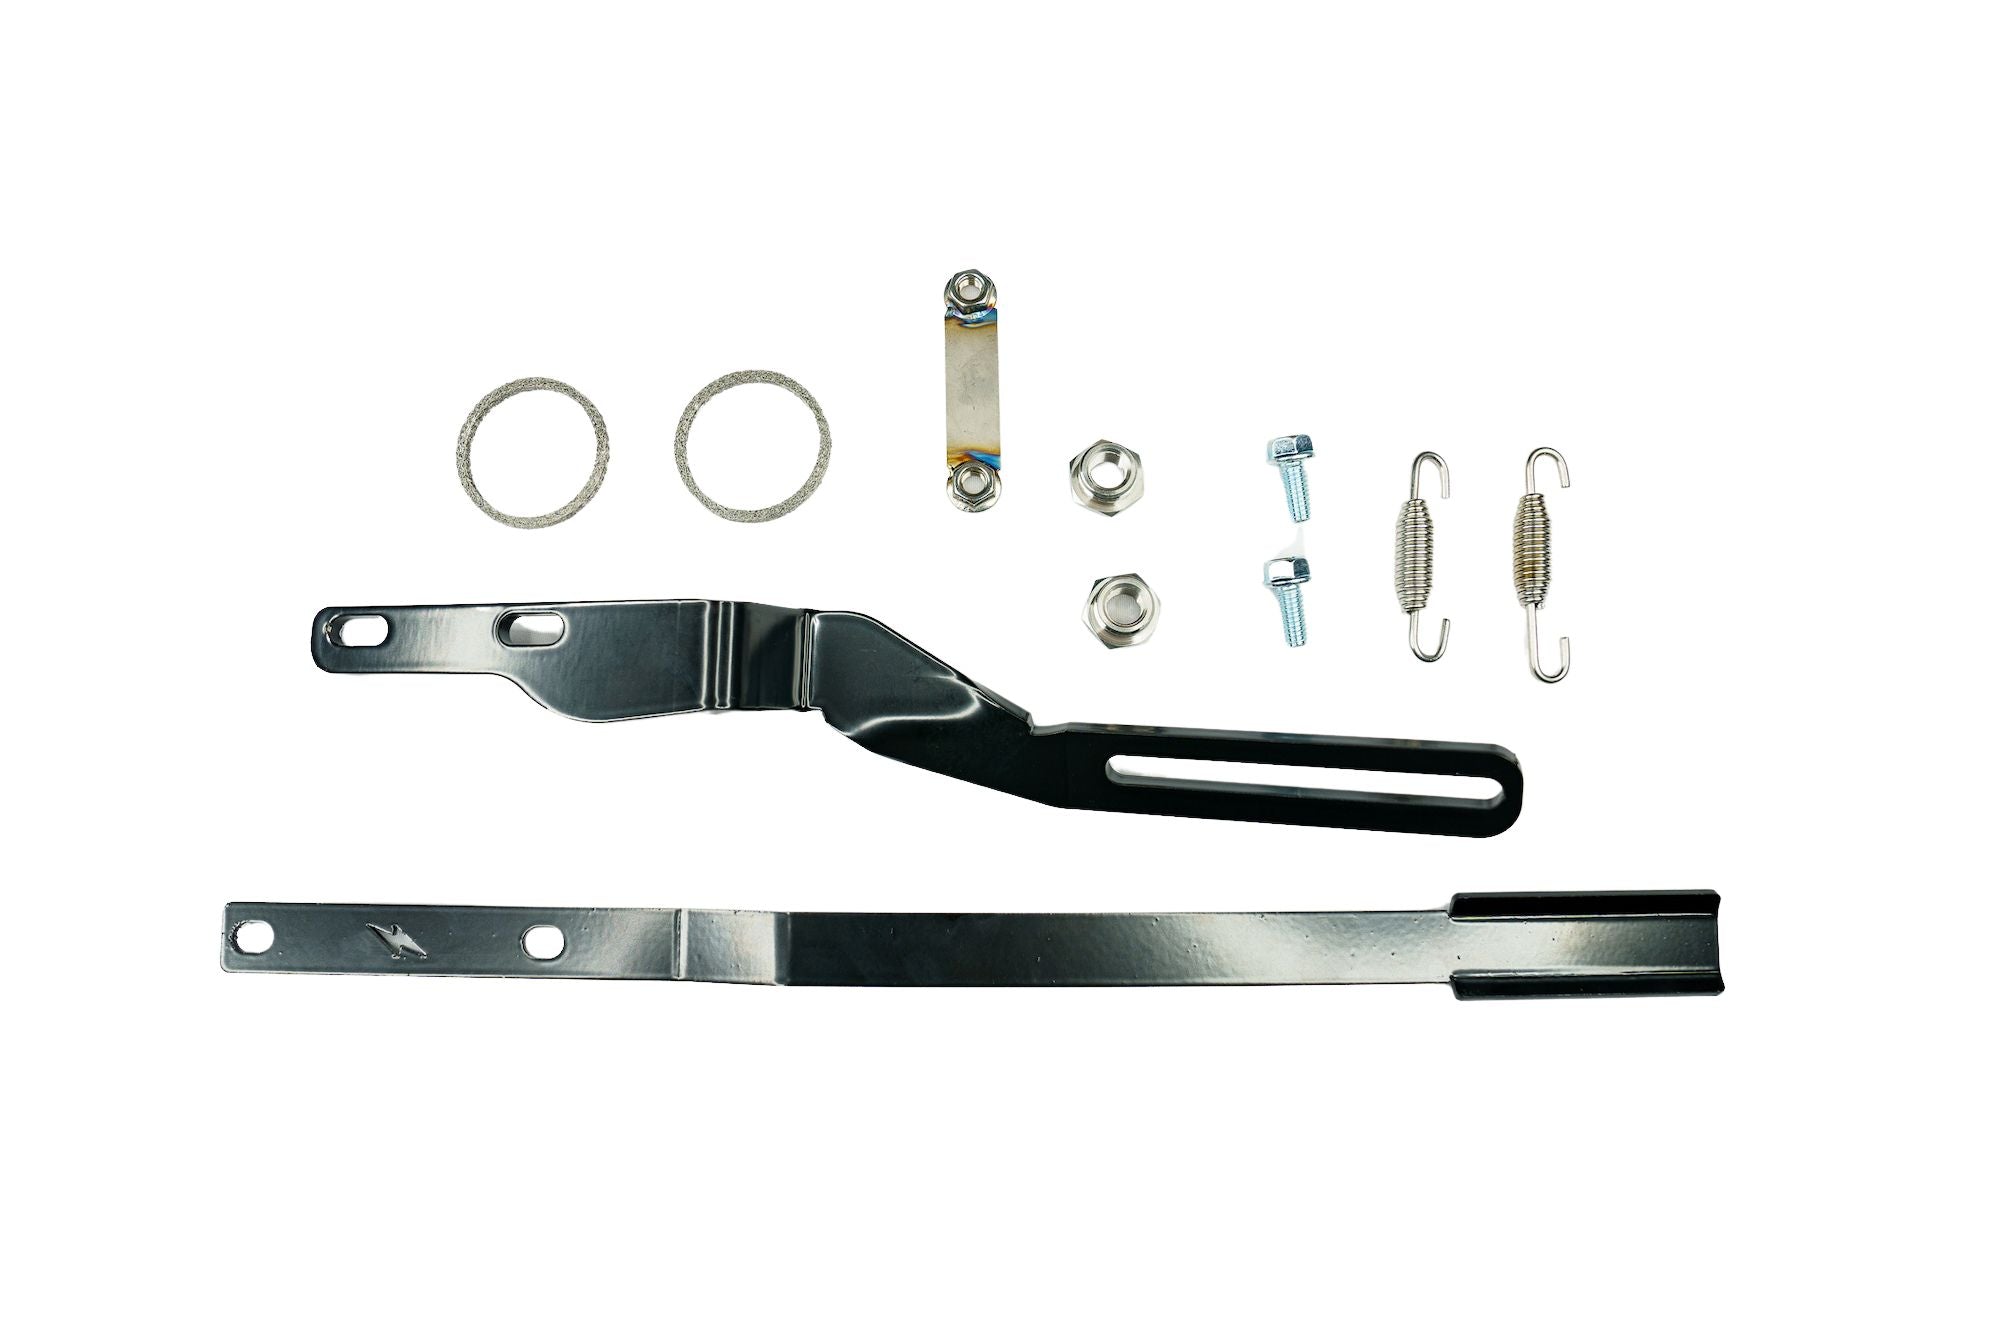
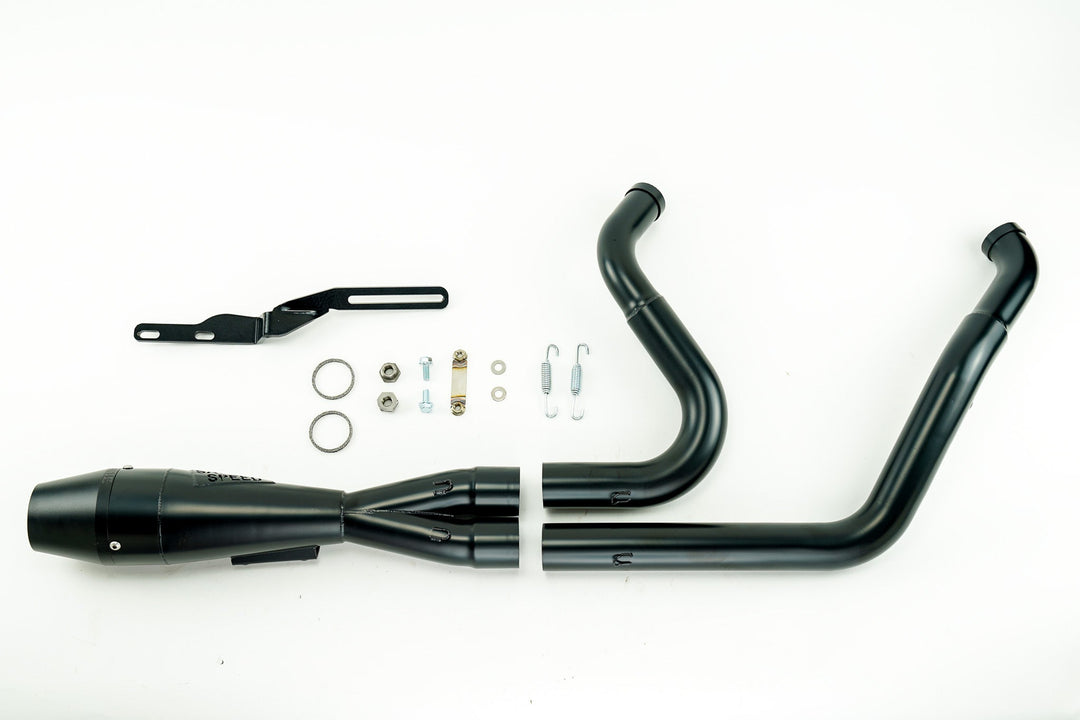
Comes with exhaust gaskets, mounting hardware, and brackets.
Accepts 18mm sensor for aftermarket tuners. (12mm reducers are included)
NOTE: Some models will require O2 harness extensions
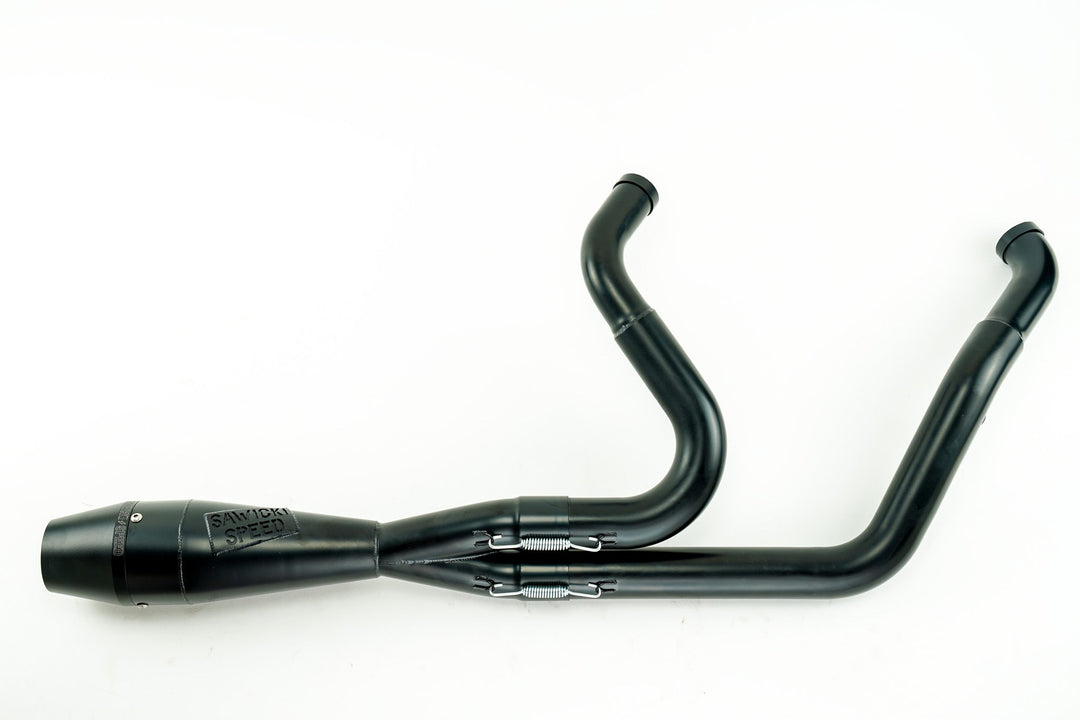
Offered with welded stainless steel or black billet aluminum end cap
930-01225 // Brushed Stainless with Welded End Cap
930-01208 // Brushed Stainless with Black Billet End Cap
930-01089 // Black Ceramic with Welded End Cap
930-01209 // Black Ceramic with Black Billet End Cap
930-01299 // Mirror Polished with Welded End Cap
930-01298 // Mirror Polished with Black Billet End Cap
These are not your ordinary mass-produced exhaust pipes. While we may have the pipe you want in stock and ready to ship, most Sawicki Speed exhaust systems are made-to-order and handcrafted.
Polished and ceramic coated systems require additional production time as we must send these out to receive their finishes. Here’s what you can expect (PLEASENOTE lead times are only estimates and may vary):
Brushed stainless exhausts ship in 4-6 weeks
Mirror Polished exhausts typically ship in 4-6 weeks
Jet-Hot Ceramic Coated exhausts typically ship in 8-12 weeks
In the words of our customers, “It’s worth the wait!”
DISCLAIMER: Not legal for sale or use in California on any pollution controlled motor vehicle. Not legal for sale or use on EPA pollution controlled vehicles originally equipped with catalyst.
WARNING: This product can expose you to chemicals known to the State of California to cause cancer and birth defects or other reproductive harm. For more information go towww.P65Warnings.ca.gov.
Our exhaust systems ship with all hardware necessary to install it yourself. Instructions are provided in the box, but you can also access our install instructions and watch video walkthroughs here:
Our exhausts come backed by a Limited Lifetime Warranty, which protects your exhaust against manufacturing defects for the life of the pipe. Click for more details or to register your purchase: